Looking for an easy-to-make "Welcome" sign? I made one today and thought I'd share the simple steps.
First, find an old kitchen cabinet door. You can get them a few places. Try searching Craig's List - a lot of people give them away for free when they are redecorating. Or search your local Habitat for Humanity restore. (find a list of stores here)
Then paint it to your heart's desire. I used Annie Sloan's chalk paint. Here's a video of Annie on The Hallmark Channel doing a tutorial.
The next thing I did was apply a Simply Said vinyl "welcome" design. And here's a video showing you how easy they are to apply. This is so much easier than the way I used to apply designs or enhancements to my painted furniture, which comprised of time-consuming transfers or stencils.
Here's my Simply Said website, where you can order a welcome design. I think this would be a great idea for personalizing with your family last name and the date you moved into your home, i.e. "Peterson Est. 2010." Or even a sign for a wedding, with a design that says something like, "Matt and Nikki, April 21, 2014." You get the idea - the possibilities are wide open!
My last step was to drill two holes through the wood with a standard drill bit, and run a ribbon through for hanging. Voila! A simple, fast way to spruce up a front door, entrance, or anyplace in and around your home.
Showing posts with label step-by-step. Show all posts
Tuesday, June 3, 2014
Monday, May 19, 2014
Wallscaping! Examples and the step-by-step to creating your own beautiful gallery wall.
So what is wallscaping you ask? It's my made-up word for dressing up your walls. You've probably heard of gallery walls, where you group photos into a pleasing arrangement on your walls. Wallscaping takes it to the next level. Like landscaping where you plant flowers and greenery in various heights and colors to achieve a cohesive look, wallscaping follows the same principles.
You can use a variety of photos, mirrors, frames, collected items, antiques, sports equipment - really just about anything - and arrange it on the wall in a pleasing manner. Wallscapes can be coordinated by color, theme, size, or shape. Sometimes the groupings are symmetrical, others haphazard. Always completely interesting!
Here's some examples from the Pottery Barn catalog that inspired me to create my own wallscaping.
Of course everything Pottery Barn does looks great and the above example delivers. Love the Americana theme, and use of items in a variety of shapes. The oars are unexpected, yet create the rectangular shape and draw the eye across the top.
Here they keep the look consistent with black frames, and throw in a few circular pieces to keep it interesting! This is one of my favorites - its like a museum exhibit!
Again, this space makes use of the black frames, but throws in a few antique-inspired pieces to keep it interesting.
A few of my friends have wallscaped their spaces, too. My friend Tara did this wall in her rustic-themed basement (it's so cool, there's real whiskey barrels down there serving as side tables!). I love the use of large and small pieces.
Tara is a professional photographer (you can see her work here), and takes full advantage of her gorgeous children as models. Here she created a gallery wall along the staircase. Awesome frames!
My friend Hillary is a master of wallscaping! Check out the nursery she designed for her new baby. Of course, the theme here is little-boy inspired with a fishing rod, antique toy cars, alphabet letters, and more. Isn't it downright adorable!!
Here's a pretty display in her living room, too!
So, after all the drool-worthy inspiration, I was motivated to create my first wallscaping, too. I thought I would document the process for you here, so you can create your own wallscaping.
Steps to Creating Your Own Wallscaping
1) Find your space. I have a 2-story great room with really, really large walls. They are an overwhelming blank canvas, that I have fretted over for 3 years. It was only recently that I felt I could tackle a big project like this. So, I decided this wall was it!
2) Gather your items for the wall. You may have precious family photos you want to display, or heirloom antiques that deserve some spotlight. Maybe you have a movie-theme in mind for your man-cave, or boating items for a nautical theme. Put all your goodies in one area and look at them to determine how much space you need vs. how much space you have.
3) Take your piece that you want to be the focal point and hang it on the wall. For me, its this antique frame I scored for a couple of bucks at a yard sale. Then map out the remainder of the space you plan to use with painters tape. Don't worry about getting the lines straight. You'll use a level when hanging the items. Measure the height and width with a measuring tape.
4) Using your measurements, layout the same sized space on your carpet with the tape. This is your staging area.
5) Start experimenting with layout. Move items around. See what you like. At first, I thought I wanted my big frame off-center. I laid it down first, and began adding items around it. I started with the circle basket on the top right corner, then went for balance by adding the circle mirror on the bottom left next. After I had everything in my space, I took a photo to remember the layout, in case I changed it and wanted to go back to what I had originally done. This layout didn't float my boat. Something felt "not right."
6) Then I tried another layout, in which I put the focal point in the center. I liked that better.
7) Items to gather before you start hanging to keep the process moving: a level (make sure you level everything, especially big pictures and shelves), hammer, drill, screwdriver, pencil, tape measure, nails, wood screws, drywall anchors, and those easy to hang wall hanger things that are hook-shaped. They are a breeze for hanging light-weight items in drywall without a stud. Where there are studs you'll need to use nails or screws, and where there's just drywall, the hook things are great. Or use the anchors. Measure and remeasure or you'll have one too many extra holes in the wall. (take my word on that)
7) I started with my focal piece (the big frame) and worked from the 4 corners in. I slowly added pieces by holding them up on the wall and adjusting the spacing as necessary. Be flexible and adjust your layout as you deem necessary. For some reason, things might not look as good on the wall as it did on the floor!
Here's what I ended up with!
I've got a mix of family photos, mirrors, an art canvas, metal initial, and other odds and ends. I wanted a variety of textures in neutral tones to match my decor, along with an accent of yellow.
My black and white family photos were taken by Tara Sutherland, who I mentioned above. So beautiful!
Inside the frame I plan to hang the piece de resistance - a Simply Said vinyl design. It looks like this!
It's the big one that says "Always believe that something wonderful is about to happen." I had it designed in a chocolate brown color to match my accent wall across the room.
I'll be hanging it as a demonstration at my Simply Said business launch party, scheduled for June 6! I am super excited about it - because this new opportunity fits right in with my love for decor. The Simply Said designs are perfect for wallscaping - in fact, I think its the perfect way to showcase their wonderful messages, or to personalize your space. Look for a lot more ideas using Simply Said designs in coming blog posts - my brain is overflowing with fun things - wait and see!
Speaking of wait and see - as soon as I have the design hung inside the frame, I'll update this post with a final photo - so you can see just how striking it becomes.
And here it is!!!!!!!
Stay tuned for a link to my Simply Said website! Coming May 28th!
And here that is, too: www.mysimplysaiddesigns.com/traciniese
Thanks friends!
Saturday, June 1, 2013
Do-It-Yourself Framed Canvas Project - From an Ordinary Photo
Last night was our monthly craft club meeting. Our lovely neighbor Tara hosted, and she taught us how to turn a regular photo into a framed work of art! As a professional photographer, Tara has a houseful of amazing photos that I thought were printed on canvas. One hanging in her hallway is stunning, and inspired this month's meeting!
I know its hard to see in photos, but when you walk up close and touch the surface, they have the delicate texture you find on a canvas. Last night, she let us all in on her secret. And now you can craft your own canvas look-alikes, too (for a fraction of the price I might add)!
Here's what you will need:
-A standard printed photo of any size (a great place to get prints at really reasonable prices is Costco)
-A frame
-A piece of foam board (you can buy this by the sheet at any craft store with a framing section)
-Mod Podge and foam brushes for applying
-A straight edge, cutting board and exacto knife (if you need to cut down your photo, or foam board)
-Sponges
-Rolling pin thingy
-Black and gold paint (optional)
Isn't this a great photo? Another one of Tara's awesome shots!
You dab fast, hence the speedy hand photo here!
When you are done, your entire print will look like this. Don't worry, the mod podge dries clear, and will only leave behind the texture - giving it the canvas look! We waited for it to dry, and then went back and did a second layer of the stippling.
Here's the white stippled mod podge on my horse.
After they dry, you simply insert your piece into the frame!
Here's two Kelly did!
Tara turned her kitchen into a serious studio for us with long tables covered in paper!
I LOVE how it turned out. I know its really hard to see the texture in my photos, especially on the white areas - but trust me, its there, and it feels so cool!
I know its hard to see in photos, but when you walk up close and touch the surface, they have the delicate texture you find on a canvas. Last night, she let us all in on her secret. And now you can craft your own canvas look-alikes, too (for a fraction of the price I might add)!
Here's what you will need:
-A standard printed photo of any size (a great place to get prints at really reasonable prices is Costco)
-A frame
-A piece of foam board (you can buy this by the sheet at any craft store with a framing section)
-Mod Podge and foam brushes for applying
-A straight edge, cutting board and exacto knife (if you need to cut down your photo, or foam board)
-Sponges
-Rolling pin thingy
-Black and gold paint (optional)
2) First, find a photo you like and get it printed in the size you desire.
Ever since a trip to Luckett's 2 years ago, I have wanted a huge piece of art with a white horse on it. They had a gorgeous framed arabian horse, and wow - I stared at this beauty. But the price tag was insane! I haven't forgotten that horse, so when this opportunity to make my own big piece of art came along, I hopped on a stock photography website to find my own white horse. I used Shutterstock. I was able to purchased and immediately download a "Super" high-resolution sized image (28.6" x 19.0" at 300 DPI) for only $19!! Once I downloaded the image from Shutterstock, I then uploaded it to the Costco photo center website. There I opted to printer a poster-sized photo in 30" x 20." This only cost $8.99! And it was ready in just a few hours!
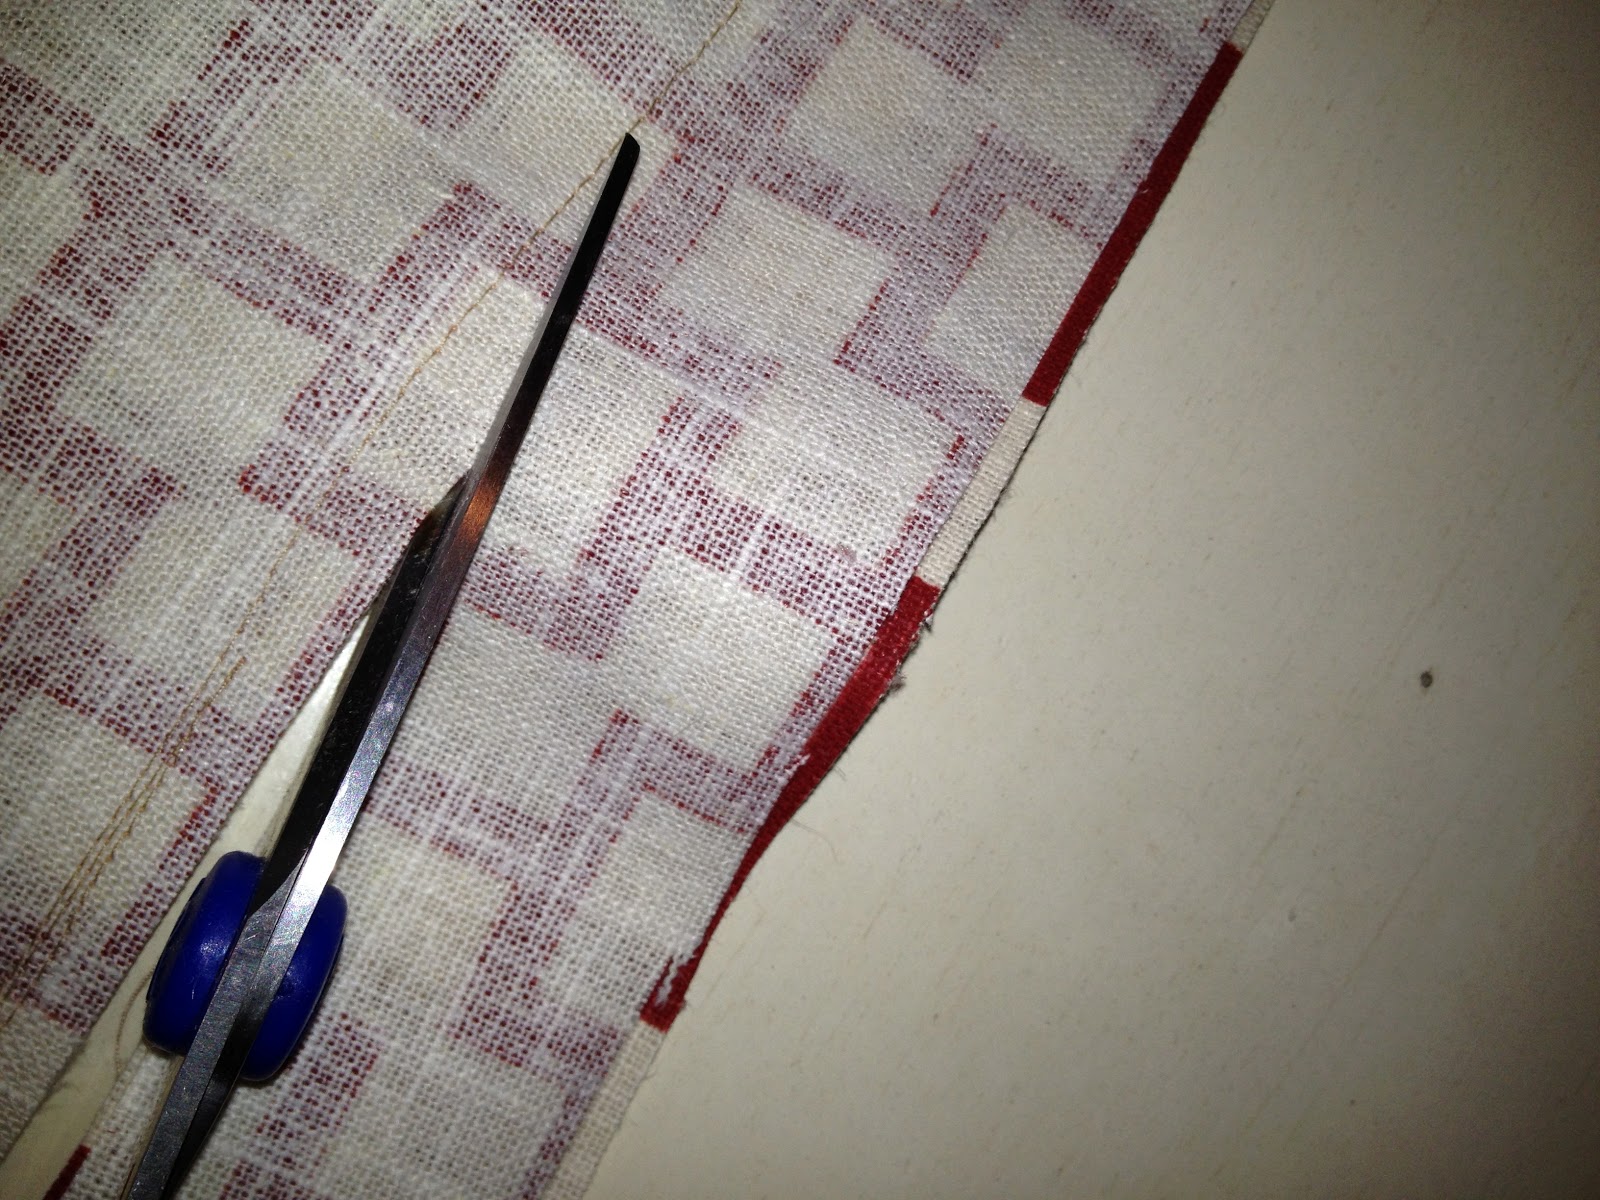
3) Find a frame. Ideally, you want your frame to be the same size as your print. But, if your photo is bigger than the frame, you can always cut it down. Simply use a straight-edge or ruler, cutting board and exacto knife to get the size you need. Cut your foam board to the same size as your print.
Here's a tip - custom frames can be outrageously expensive (Trust me - the one I wanted for this project from Michael's was $400!) So, there's a few things you can do, buy a plain frame and paint it, which is what I did. Or, go to a place like HomeGoods, and score a clearance mirror and just remove the mirrored part. Instant frame!)
4) Once your print and foam board are cut to the correct size, gather your Mod Podge (we all used Matte, but Glossy is also available), a foam brush, and the rolling pin thingy. Liberally apply mod podge all over the foam board, creating a smooth layer. Cover the entire piece and make sure to get the edges. Here's Tara demonstrating!
5) Next, place your print over the foam board, and begin smoothing it out with the rolling pin thingy. Try to remove any and all air bubbles. Move in all directions. Once you have it smoothly in place, allow it to dry. This might take about 10 minutes - it dries rather quickly. At this point, we stopped to enjoy Tara's delicacies, which included homemade candied walnuts (to die for)!!
Isn't this a great photo? Another one of Tara's awesome shots!
6) After it dries, here comes the fun part...
Spread another liberal layer of mod podge right over the print. Work quickly, so it doesn't dry, because you immediately want to "stipple" the mod podge with a sponge. We used everyday dish sponges, that were split down the middle to reveal the bumpy texture inside. You can used other sponges, too - choose the size of the holes you prefer. Some sponges create larger stipple, while others create a smaller, finer stipple. We all opted for these dish sponges, which made larger stipple.
Quickly dab the sponge on the wet mod podge. Dab the whole print, until you see the texture everywhere.
You dab fast, hence the speedy hand photo here!
When you are done, your entire print will look like this. Don't worry, the mod podge dries clear, and will only leave behind the texture - giving it the canvas look! We waited for it to dry, and then went back and did a second layer of the stippling.
After they dry, you simply insert your piece into the frame!
Here you can see the texture well in the top-left corner! Liza made this work of art!
She also made this one of her wedding bands on the beach - again you can really see the texture on the shaded areas in the bottom right.
Here's Tara's - isn't the frame awesome! It was originally a mirror!
Here's two Kelly did!
And Kim's shot from Hawaii!
Now that we've told you how this is done, let's talk about a few "special techniques," for aging your photos. Kristi worked on these two dog images as a special memento for her parents who just lost their beloved pets. Since her original photos were a bit blurry, she wanted to make them look old and "grainy," like a lot of old photos used to be back in the day. For the Photoshop users out there, you would called this adding "noise." To achieve this noise, Kristi added a tiny bit of black craft paint to her mod podge, stirred well, and then stippled. You can really see it well on the right-hand shot. They turned out great!
In this photo Tara showed us how to age a piece two ways. She watered down a gold craft paint, and sponged it all over the image. You know how photos tend to turn yellow over the years - she made it happen instantaneously! Then she used watered-down black craft paint to create a silhouette around the edges. So cool!
Tara turned her kitchen into a serious studio for us with long tables covered in paper!
Here she is demonstrating the aging techniques!
Since my horse piece was so big, I needed help to get it smoothed out quickly and remove the air bubbles before the mod dried!
Remember how I said you could paint your frame? That's what I did here...finding a cool 20x30 frame or mirror was impossible. I could only find a plain black one. So, I dry-brushed a couple of Annie Sloan Chalk Paint colors over the black, and it changed the whole look. I can't wait to hang this in my home!
Thank you to Tara for all of her hospitality, and for teaching us how to make our own custom-canvases! I know I will be doing this again and again!
Thursday, January 31, 2013
Making a pillow with a step-by-step tutorial
While I've been redecorating my front living room, I've had lots of suggestions from my Facebook friends on what to do. Someone suggested I needed another pop of my accent color - red. I have a stash of gorgeous red geometric Robert Allen fabric that I've been dying to put to use, so I pulled it out and made some pillows tonight.
Sewing definitely is not one of my strong points. I remember learning how to sew by hand from my great-grandmother, and taking sewing in high school home economics - but that's the extent of my education. Thankfully, making pillows is as simple as it comes, and a sewing machine makes the task easy-breezy. And perfection is not necessary!
So for anyone who hasn't tried their hand at pillow-making, take it from me, it's not hard. Here's how its done...
You'll need fabric, your pillow insert, or old pillows like the ones I was using (and planning to just recover), a sewing machine, thread, a needle and a pair of scissors.
Lay your pillow down over your fabric.
I left a good two inches around each side of the pillow's edge and cut. After you cut the first sheet, use it as a template and cut another sheet the same size.
Lay your two sheets down so the printed sides are facing each other.
Sew up the left and top sides of the sheets. I sewed about a quarter inch from the edge. Don't worry about the fabric not being even. You can cut this away after you are done sewing, and it will be on the inside of your pillow, so no one will know its there!
Once the left and top sides are sewn, tuck the pillow inside, snug against the edges.
Next, using your fingers, gather the extra fabric along the right side of the pillow and insert pins along the edge of your pillow insert, so you know where to sew. (see below)
Once the right side is sewn up, again cut the excess fabric away.
Now turn your pillow case inside out, and insert your pillow.
See all the extra hanging at the bottom. We'll pin it along the edge of the pillow, just like we did on the right side.
Once I had the whole line pinned, I cut away about half this excess, so I was left with about an inch from the pins.
I folded the excess inch under...
And pressed the edges together. I hand sewed this side together. I am not sure what this stitch is called, but basically I went in one side with the needle, and the side I exited from was the side I went back in with for the next stitch. So in and out. On the first pillow I took my time and made very small stitches that were nearly impossible to see.
For the next pillow, I decided I would try that closing trick I see people do online - you know, the pro's. They sew up the last side of the pillow about half way, and then stuff the insert in, and hand-sew the remainder.
This is how much space I had left unsewn. Maybe a nice soft squeeshy pillow insert filled with features could have been stuffed in there, but my pillow wouldn't fit. I tried folding it in half, rolling it, pressing it. (I had flashes of giving birth and Saxon's giant head trying to squeeze through...well, I don't have to say it, you know what I mean.)
By the time I was done stuffing, I was starting to break a sweat, and I had torn the opening this wide! Oh well, lesson learned. For me, I was doing just as good a job hand-sewing the last side. So, I quickly sewed this shut by hand. Done!
And here they are, adding an extra pop of red to my living room!
Charlotte, the Green-Lantern wonder dog, approves!
Sewing definitely is not one of my strong points. I remember learning how to sew by hand from my great-grandmother, and taking sewing in high school home economics - but that's the extent of my education. Thankfully, making pillows is as simple as it comes, and a sewing machine makes the task easy-breezy. And perfection is not necessary!
So for anyone who hasn't tried their hand at pillow-making, take it from me, it's not hard. Here's how its done...
You'll need fabric, your pillow insert, or old pillows like the ones I was using (and planning to just recover), a sewing machine, thread, a needle and a pair of scissors.
Lay your pillow down over your fabric.
I left a good two inches around each side of the pillow's edge and cut. After you cut the first sheet, use it as a template and cut another sheet the same size.
Lay your two sheets down so the printed sides are facing each other.
Sew up the left and top sides of the sheets. I sewed about a quarter inch from the edge. Don't worry about the fabric not being even. You can cut this away after you are done sewing, and it will be on the inside of your pillow, so no one will know its there!
Once the left and top sides are sewn, tuck the pillow inside, snug against the edges.
Next, using your fingers, gather the extra fabric along the right side of the pillow and insert pins along the edge of your pillow insert, so you know where to sew. (see below)
Now sew along the line you created with the pins, removing each pin as you get to it.
Once the right side is sewn up, again cut the excess fabric away.
Now turn your pillow case inside out, and insert your pillow.
See all the extra hanging at the bottom. We'll pin it along the edge of the pillow, just like we did on the right side.
Once I had the whole line pinned, I cut away about half this excess, so I was left with about an inch from the pins.
I folded the excess inch under...
And pressed the edges together. I hand sewed this side together. I am not sure what this stitch is called, but basically I went in one side with the needle, and the side I exited from was the side I went back in with for the next stitch. So in and out. On the first pillow I took my time and made very small stitches that were nearly impossible to see.
This is how much space I had left unsewn. Maybe a nice soft squeeshy pillow insert filled with features could have been stuffed in there, but my pillow wouldn't fit. I tried folding it in half, rolling it, pressing it. (I had flashes of giving birth and Saxon's giant head trying to squeeze through...well, I don't have to say it, you know what I mean.)
By the time I was done stuffing, I was starting to break a sweat, and I had torn the opening this wide! Oh well, lesson learned. For me, I was doing just as good a job hand-sewing the last side. So, I quickly sewed this shut by hand. Done!
And here they are, adding an extra pop of red to my living room!
Charlotte, the Green-Lantern wonder dog, approves!
Subscribe to:
Posts (Atom)