Showing posts with label how-to. Show all posts

Tuesday, March 25, 2014

The Exquisite Book of Paper Flowers

What woman doesn't love flowers? Seriously. I swoon for gerbera daisies. My hibiscus bushes in full bloom are a source of unmatched joy. And any floral-scented perfume is a gift I love to receive.  So when I was told I'd be handling the publicity for a flower-making craft book, I did a little happy dance around my desk.

The book publishes in two weeks and is called The Exquisite Book of Paper Flowers (Abrams | STC Craft), by an amazing artist named Livia Cetti.


The subtitle, A Guide to Making Unbelievably Realistic Paper Blooms, is no joke. Livia's flowers look breathtakingly liek the real deal. Just look at this centerpiece...


And for my northern virginia and DC friends, just look at these cherry blossoms! With our never-ending winter weather, the trees around the National Park won't be looking this fabulous.


Speaking of DC, author Livia Cetti had the honor of decorating The White House with her realistic tissue paper petals. At the time, Michelle Obama had hoped to bring in hibiscus flowers for a Korean state dinner. But, they were not in season - so the organizers called on Livia to craft the next best thing! How cool, right?

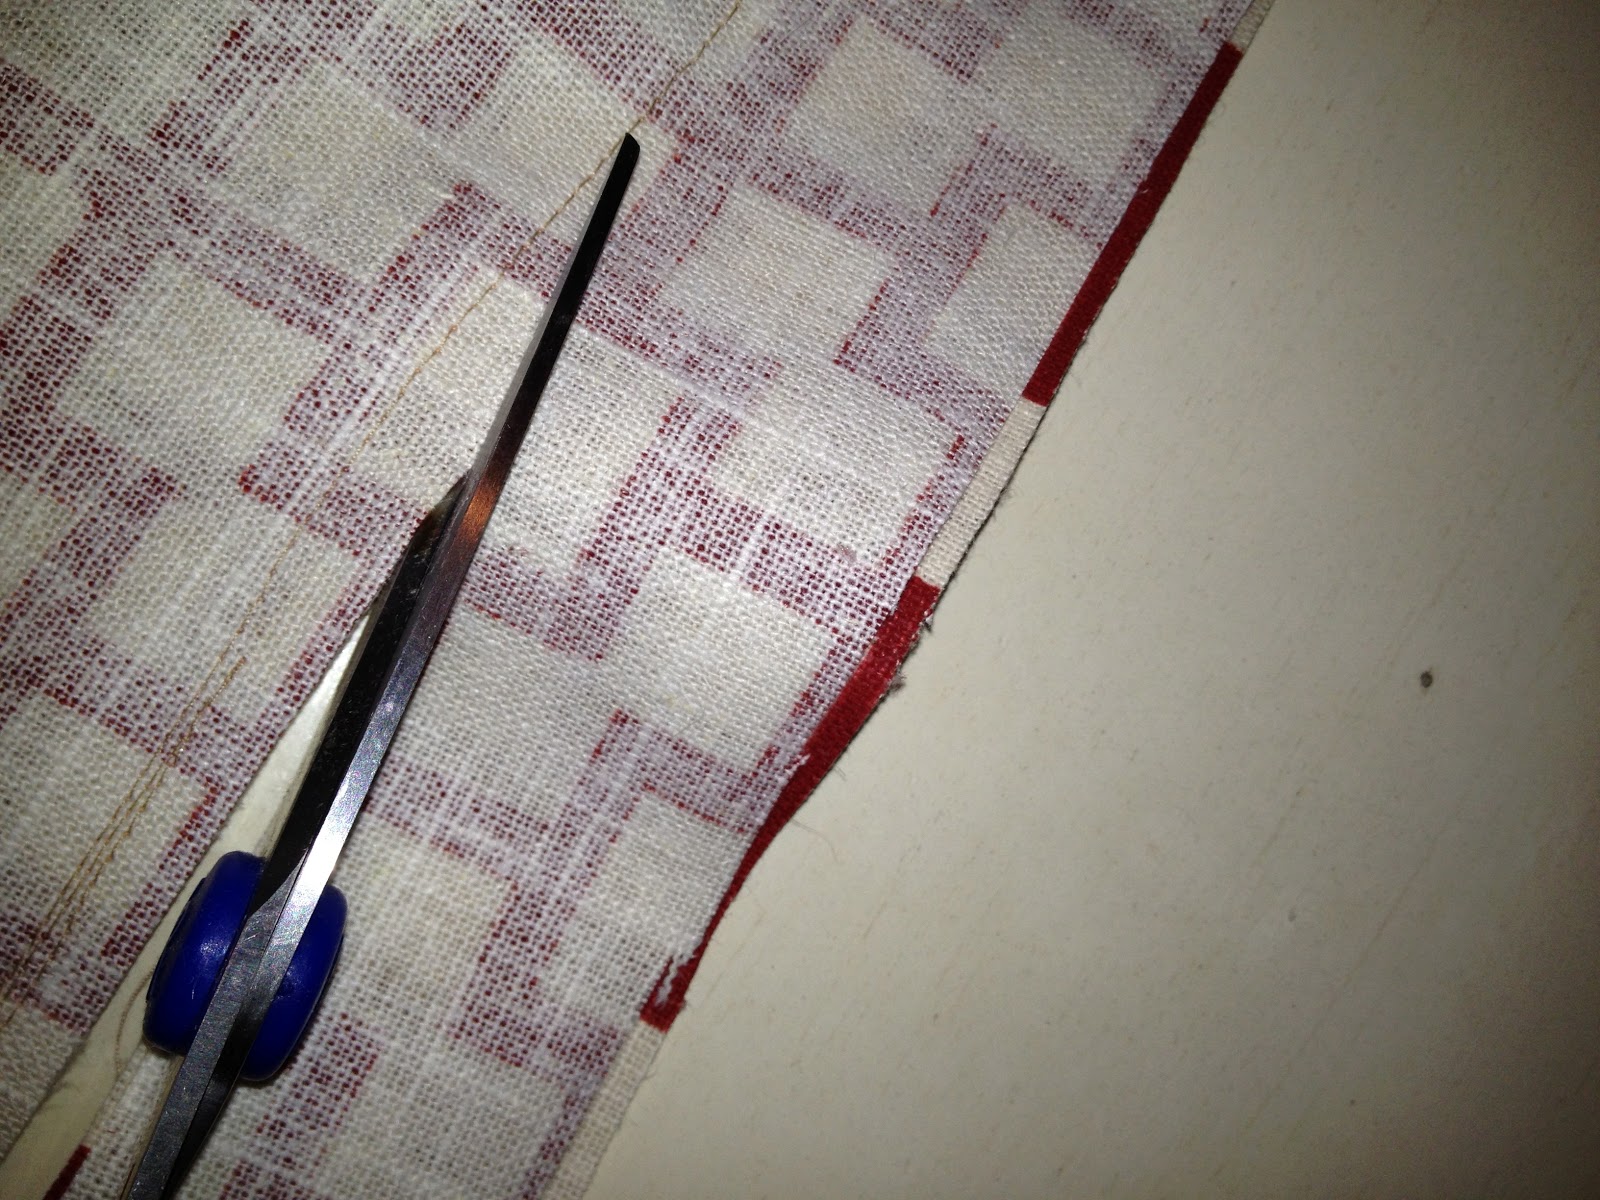
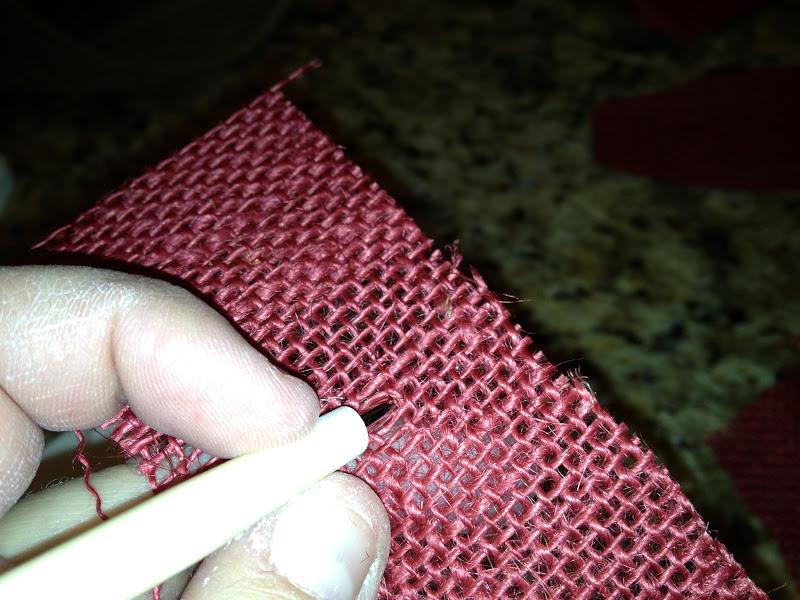
Livia shares her secrets for gorgeous crepe paper blooms. Step-by-step instructions guide the reader through the basics, like bleaching the tissue paper, freehand painting with bleach, painting leaves, working with wire, making pom centers, wrapping stems, and sculpting petals. There's even photos for each step of the process...


Then Livia gets to the good stuff - making flowers!


(This beautiful photo, taken by Addie Juell, makes me want to lean down and drink in what must be a heavenly scent!)

There's projects for 25 of the most popular flowers you can think of...Rose, Dahlia, Jasmine, Sweet Pea, Tiger Lily, Tree Peony, Begonia, and more!


Livia also explains how to combine individual flowers to create arrangements with eye-popping color!
There's an additional 23 projects for arrangements -from garlands and wreaths to wedding flowers, like corsages and cake toppers.


I've invited my craft club to come try their hand at making tissue flowers from The Exquisite Book of Paper Flowers. As soon as the weather starts to feel like Spring around here, I'm setting the date!
I can't wait! This book is so inspiring - the styling is simple and modern, which speaks to my home decor style. Of course, what room doesn't look lovely with gorgeous flowers?

If you want to pick up a copy, here's your link!
Learn more about Livia Cetti here.


Friday, March 14, 2014

Handmade for the Garden - time to craft for the outdoors!

Even though its only 30 degrees outside, I know Spring is knocking on the door. Even some of the trees are sprouting little buds. I wouldn't doubt that green shoots will be out of the ground soon. So, what better time to start crafting items to enhance my outdoor space!

And I have the perfect book to help!

Handmade for the Garden, by Susan Guagliumi. Published by STC Craft | A Melanie Falick Book.


This new book publishes next week and includes 75 do-it-yourself projects for all kinds of pretty and functional backyard goodies - like mosaic pots...


and newspaper pots for starting seeds...


or self-watering planters made from recycled garden hoses...


even a rustic arbor or trellis for your climbing roses and plants!


I especially like this hardware cloth garden basket project - perfect for hauling in my freshly picked tomatoes.


There's a section of the book that even includes projects for making gifts from your garden, like garlic braids.


And what I really love about this how-to book is that it doesn't shy away from the seemingly more challenging DIY - it teaches readers how to experiment with cement & hypertufa to make bowl-shaped flowerpots and box-shaped planters, or pretty stepping stones and decorative pieces like bird-baths. There's also a section on bending and shaping copper to make ornaments for garden stakes or fence posts. And for those readers who prefer the very basic, there's simple projects for stamping and stenciling pots. The point is - there is something for absolutely every garden enthusiast and every level of maker in this book!

The photos by John Gruen are gorgeous, and the writing is clear and precise. And the author, Susan, is a doll. Seriously, what a nice woman! Just check out some pics from the gardens outside her home!


Susan's kitty, Buster! (you know I can't resist sharing a photo of a pretty cat - especially one enjoying a bird bath!)


Lord - I'd love a raised bed like this full of tomatoes!  Guess what - there's a project in the book for making these grapevine coiled tomato towers!

I just love Handmade for the Garden - it combines so many of the things I adore - crafting, gardening, and a general appreciation for the outdoors. Now to choose my first task!


Thursday, January 31, 2013

Making a pillow with a step-by-step tutorial

While I've been redecorating my front living room, I've had lots of suggestions from my Facebook friends on what to do. Someone suggested I needed another pop of my accent color - red. I have a stash of gorgeous red geometric Robert Allen fabric that I've been dying to put to use, so I pulled it out and made some pillows tonight.


Sewing definitely is not one of my strong points. I remember learning how to sew by hand from my great-grandmother, and taking sewing in high school home economics - but that's the extent of my education. Thankfully, making pillows is as simple as it comes, and a sewing machine makes the task easy-breezy. And perfection is not necessary!

So for anyone who hasn't tried their hand at pillow-making, take it from me, it's not hard. Here's how its done...


You'll need fabric, your pillow insert, or old pillows like the ones I was using (and planning to just recover), a sewing machine, thread, a needle and a pair of scissors.


Lay your pillow down over your fabric.


I left a good two inches around each side of the pillow's edge and cut. After you cut the first sheet, use it as a template and cut another sheet the same size.


Lay your two sheets down so the printed sides are facing each other.


Sew up the left and top sides of the sheets. I sewed about a quarter inch from the edge. Don't worry about the fabric not being even. You can cut this away after you are done sewing, and it will be on the inside of your pillow, so no one will know its there!


Once the left and top sides are sewn, tuck the pillow inside, snug against the edges.


Next, using your fingers, gather the extra fabric along the right side of the pillow and insert pins along the edge of your pillow insert, so you know where to sew. (see below)


Now sew along the line you created with the pins, removing each pin as you get to it.


Once the right side is sewn up, again cut the excess fabric away.


Now turn your pillow case inside out, and insert your pillow.


See all the extra hanging at the bottom. We'll pin it along the edge of the pillow, just like we did on the right side.


Once I had the whole line pinned, I cut away about half this excess, so I was left with about an inch from the pins.


I folded the excess inch under...


And pressed the edges together. I hand sewed this side together. I am not sure what this stitch is called, but basically I went in one side with the needle, and the side I exited from was the side I went back in with for the next stitch. So in and out. On the first pillow I took my time and made very small stitches that were nearly impossible to see.


For the next pillow, I decided I would try that closing trick I see people do online - you know, the pro's. They sew up the last side of the pillow about half way, and then stuff the insert in, and hand-sew the remainder.


This is how much space I had left unsewn. Maybe a nice soft squeeshy pillow insert filled with features could have been stuffed in there, but my pillow wouldn't fit. I tried folding it in half, rolling it, pressing it. (I had flashes of giving birth and Saxon's giant head trying to squeeze through...well, I don't have to say it, you know what I mean.)


By the time I was done stuffing, I was starting to break a sweat, and I had torn the opening this wide! Oh well, lesson learned. For me, I was doing just as good a job hand-sewing the last side. So, I quickly sewed this shut by hand. Done!

And here they are, adding an extra pop of red to my living room!


Charlotte, the Green-Lantern wonder dog, approves!

Tuesday, November 20, 2012

Stacked Burlap Tree Tutorial

Recently I received a catalog to one of my favorite home decor retailers. It included gorgeous holiday items, like it does every holiday season. And every year, I sit, turn the pages, and day-dream about decorating just like the pages. (enter the loud, shrieking sounds of a tractor-trailer braking here) Why - because the stuff in this catalog is salty! I mean, geeze, why does everything have to be so friggin expensive?

When I spied their cute stacked burlap trees, I knew I had to have one. But wait, wouldn't they look much more adorable in a little grove of trees - yes! However, each tree was nearly forty bucks! Damn, to get the three trees I really wanted - I'd have to spend the kind of money I spend on crap like, oh I don't know - groceries!

So I made them...


Here's how you can make your own stacked burlap trees, too.

Materials (all purchased at Michael's craft store):
-Unfinished wooden plaque - I used small oval-shaped pieces - $1.49
-3/16" wooden dowel (one dowel will make 3 12-inch trees) - $.39
-Wood beads with a hole through the middle - about .10 each
-Burlap - I got 2 yards of the red for $9.99 and a roll of the natural for $7.99 (You can get about 3 trees per yard)
-Paint, if you want to paint the wood base and bead

First, I painted the bases and beads white. After they dried, I drilled a small hole in the wood plaques, which became the tree's base. Use a 3/16" drill bit. Then I used a hand-saw to cut the wooden dowels down to 12 inches each. I inserted a dot of hot glue into the hole and inserted the dowel.


Grab your scissors and start cutting! You'll be cutting and stacking strips of burlap that gradually go from about 4 inches in length down to a half inch. There's no exact science here, in fact I never used a tape measure. As usual, I winged it.


Find something to make a small hole in the center of each piece. The tip of a pencil would work perfectly.

(okay, my finger nails are really not crusty, I swear - this is white paint!)


Slide the hole down over the dowel.


Start stacking your pieces of burlap. You want to turn them so that they are angled differently with each layer.


Get a good base going, and then start working your way up the three by cutting the strips a bit shorter in length. I used the previous layer's length as a guide - I laid the last strip against the burlap and just cut the next row about a half inch smaller.


You will cut a lot of strips! While this is an easy and inexpensive craft, it does take time.


By the time you get to the top, your strips will only be about a half inch in width.
If you feel like the tree isn't graduated enough, take them off and go back. I did that several times!


When there's about a half inch of dowel left, it's time to put on the bead.


Insert a tiny dab of hot glue into the hole.


And slide it on the top.

There ya have it!


I couldn't be happier with how they turned out. They look exactly like the pricey-retailer ones. Next I want to find white burlap and make a few more. Enjoy making your trees!