Between custom work for clients, and the pieces I painted to sell, the projects were, for the most part, highly enjoyable (excerpt for painting a few sets of dining chairs - oh they are a bear)! Here's some of my favorites from 2012 and tips for success:
My FAVORITE furniture makeover was the french chair...

This was so fun - I really loved the upholstery aspect of this piece, and I hope to do more chairs this year. If you're going to reupholster a piece, here's my suggestions to avoid pulling your hair out:
1) Invest in a good stapler - at least an electric one, or you will find you need a lot of muscle just to get them in flush
2) Save the pieces of old fabric you tear off to use as a template when cutting the new fabric
3) Buy more fabric then you think you will need
Here's the original posts for this project if you want to see and read more:
Ripping it Apart
Painting the Chair
The Reveal
The Antique Bedroom Set - a close tie for second!


Oh how I loved working on this set that included a queen headboard, footboard, side rails, a dresser, vanity and two huge mirrors. The furniture was beautiful, with amazing appliqué details, curves and rasters. Did I say I LOVED this set? And after the paint, I loved it even more.
Tips for success:
1) Tape off your mirrors with green (Frog tape brand) painter's tape. Do not use the blue kind - or you will have bleeding. Trust me on this!
2) Invest in beautiful knobs - they make such a difference
3) When painting appliqués, use a small artist's brush and take your time
Click here if you want to see some before shots of these beauties.
Mona's Sideboard

This console was a custom paint project that I fell in love with. I swear when it was all said and done, I secretly wished it was mine! I hope to find a similar piece some day and paint it for my own dining room.
Tips for success:
1) Frog tape is great for getting crisp lines around edges if you don't trust a not-so-steady hand
2) Use dark wax sparingly for an aged patina. If you smear it over the whole piece, it will just look dirty.
3) Sometimes the lack of hardware truly makes a piece stand out. Don't be afraid to take it off and fill in the holes. But be sure you can easily open drawers.
Here's more photos!
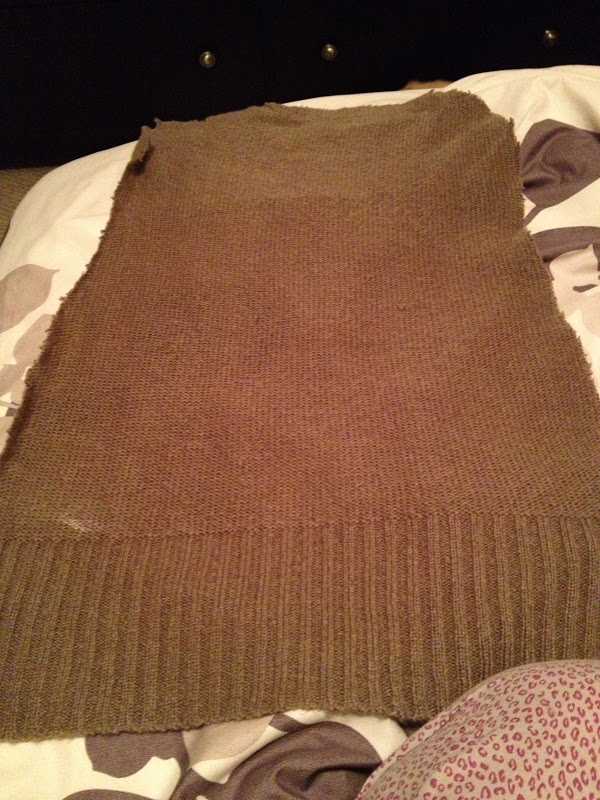
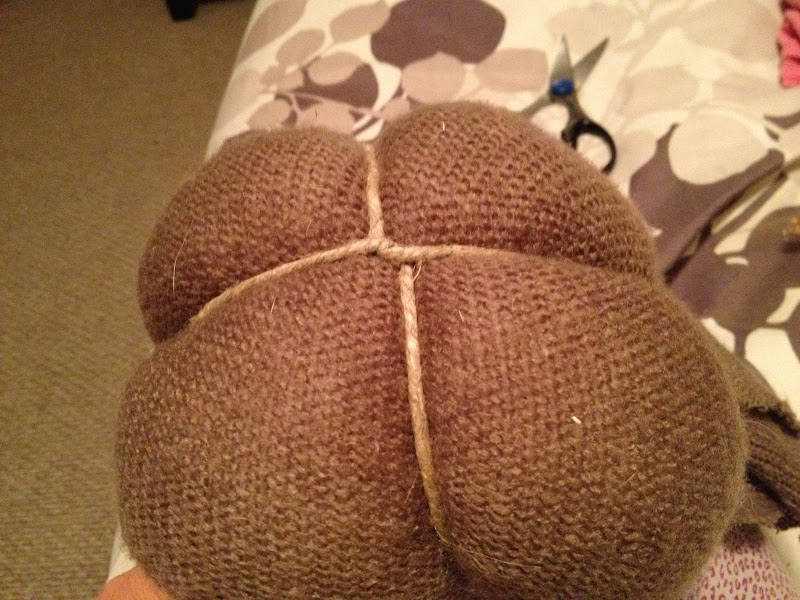
The bench from hell

Sometimes a piece of furniture is so easy to transform you'll amaze yourself. At others, it's such a pain in the ass you could cry. This one fell into the latter category. And I have several posts to explain why linked below. BUT, what's important is that the end result. This pretty piece sits in my spare bedroom and when I walk past the room, I still find myself stopping to admire her.
Tips (or maybe I should calls these bits of advice warnings):
1) You will get blisters when removing thousands of staples!
2) Upholstery needles are very long and sharp!
More links:
Removing cushions is hard work!
The next step - fabric.
Making the tufted seat.
Done - before and after photos!
Little Red Accent Table
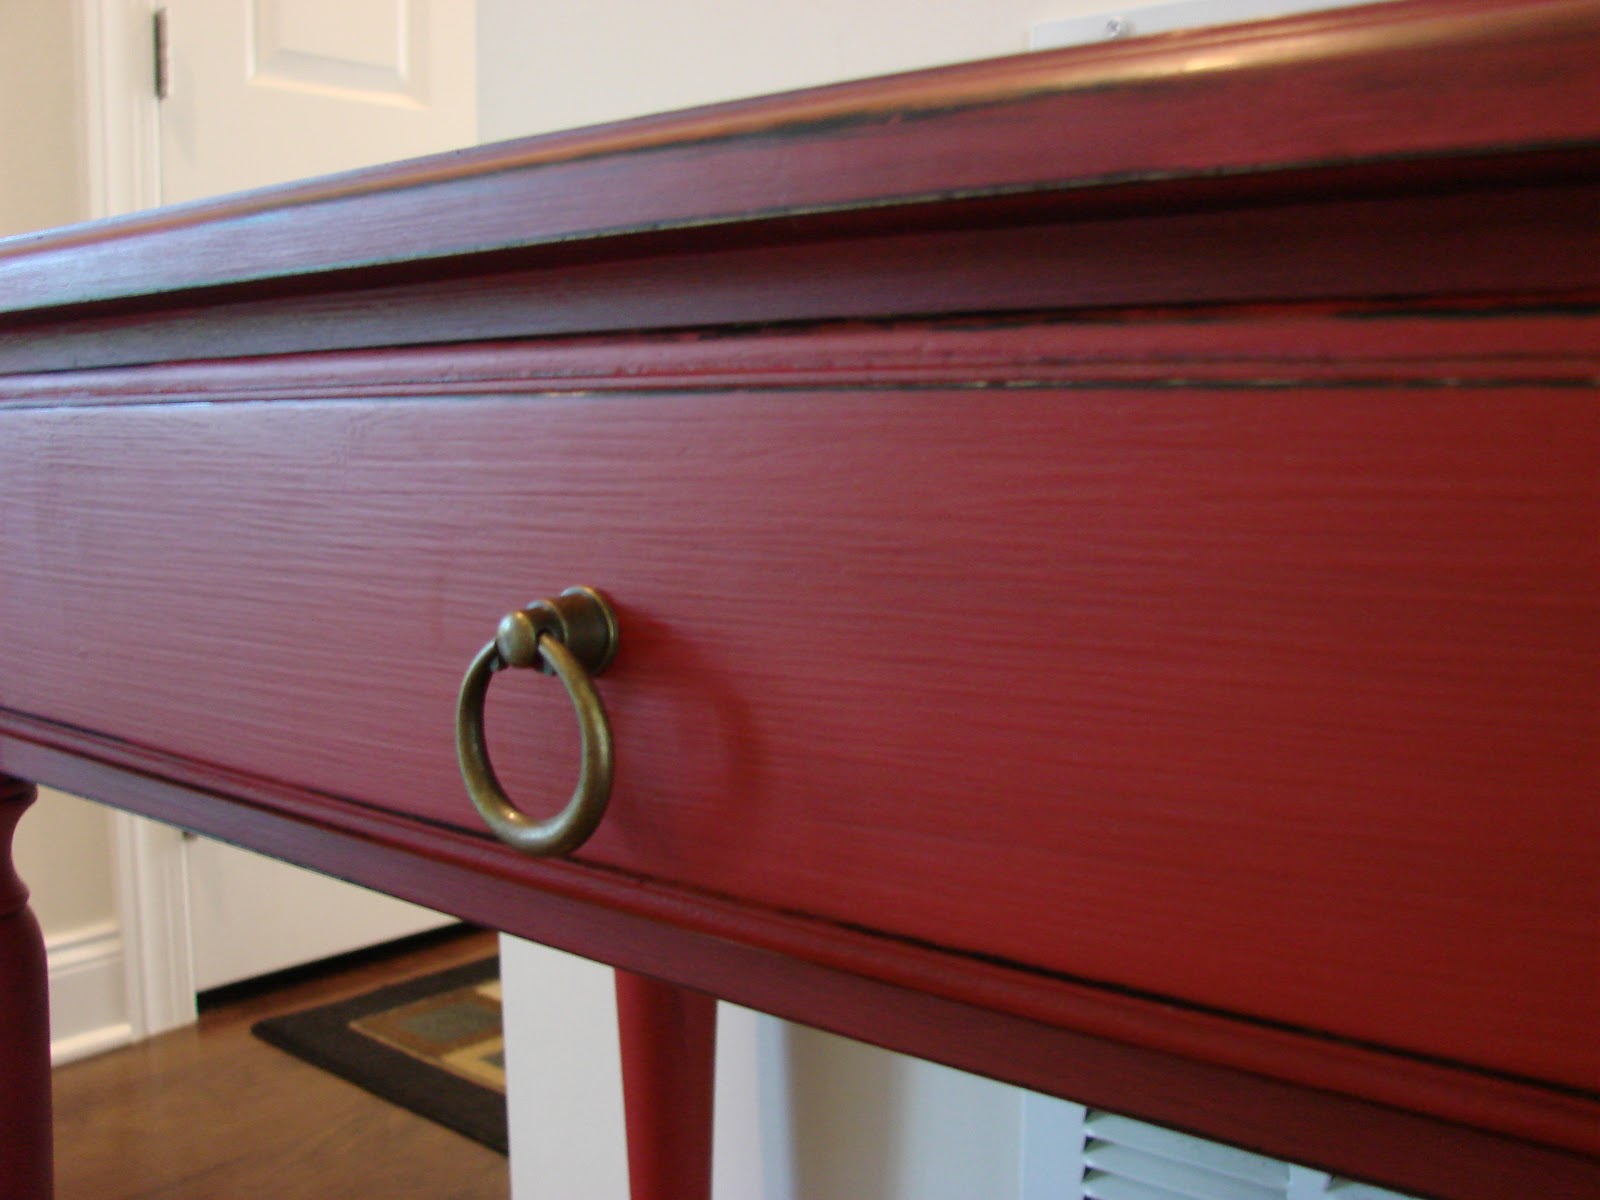
Okay, I have a thing for red. Love red accents in a home, and this piece turned out great with its black wood peeking out from underneath.
Tips:
1) Always remove hardware before you start painting, unless of course you plan to paint right over it
2) Don't be afraid of color. A striking piece will make you smile! The 2013 Pantone color of the year is emerald green - who wants to try it out first??!!
Click to see more photos of red furniture.
Gorgeous Wood Plank Desk

This gorgeous desk was also a custom project. The stunning plank top was to die for! I'm not kidding, I'd go out in the garage and just run my hands over it. Just. Beautiful. Wood.
Tips:
1) The Black and Decker Mouse is an awesome little hand-sanding tool that strips off old surfaces so quick and easy! Perfect for smaller hands and very light-weight.
2) If you don't like your wood to have a shiny surface, make sure you use a matte finish. I prefer Minwax Wipe On Poly. They even make a wipe on stain too, that you just brush on, let sit a few minutes and then wipe off. Easy-breezy!!
Annie's Secretary

This was a pretty custom project I enjoyed doing. It started off solid black. We used Annie Sloan Chalk Paint in Paris Grey, and Old White.
Stenciling tip:
To avoid stencil bleeding, always make sure to wipe your brush on a paper towel to remove excess paint, before you begin stenciling. Each time you reload your brush, wipe first. This will keep paint from seeping underneath the stencil and giving you that blurry edge.
Decoupaged Kitchen Storage Cupboard

This petite cupboard made my favorite list because of the shabbiness and it's decoupaged interior doors. Truth be told, I was completely out of Paloma (the purplish color) and Old White paint when I discovered that I had failed to paint the insides of the doors. I was taking this piece to a sale the next day and I had to do something. In a pinch I decoupaged the doors with Modge Podge and scrapbook paper. I loved the surprise of opening the doors and finding the design!
Decoupage tips:
1) Make sure paint is dry before you decoupage over it
2) If air bubbles form, pierce it with a pin, then smooth out with your fingers
3) Avoid using ink-jet printed designs, as the ink can smudge from your decoupage medium
French Coffee Table


The french coffee table was one of my fav's this year too. The piece was curvy, with scrolls and shell motifs. I chose to dry-brush Old White over Paloma and it created a lovely layered look.
Dry-brush technique tip:
The dry-brush technique is literal - you load a small amount of paint on your brush, and then wipe most of it off onto a towel or rag before you start painting. Keep the brush very dry to deposit very fine amounts of paint on the surface.
More photos here.
Gold Gilding Column Table

I loved this little piece of furniture for its many crevices. Turned grooves allow dark wax to settle in and create such a perfect, distressed and aged look. Gold gilding wax also looked great on those column legs.
Gilding wax tip:
A little goes a long way! Seriously, use a fine-tipped brush and wipe it back to get your achieved luster. Let it set and then buff lightly. Ahhh - so rich!
More photos here.
As I think about the coming year and the things I'd love to take a brush to, a list is quickly developing:
1) A stenciled accent wall in my powder room
2) A mammoth hutch
3) My kitchen cabinets (I just want to wax them. They're already an antique white color and I think the dark wax would make a huge difference!)
4) I've got about 5 pieces of furniture in my house that need a makeover, from dressers to a storage bench.
5) A TV console
6) A mini bar
7) More French chairs
I'll stop now. Heck, I'll paint just about anything! Give it a try folks - I think you're gonna love it!