Showing posts with label distressed. Show all posts

Monday, July 7, 2014

Do-It-Yourself His and Her's Towel Hooks

Being married means sharing things, right? Like a bed, his last name and the household finances. But, there are some things that are off limits - like my bath towel! I loathe getting out of the shower to find my towel damp. Don't you?

So to rectify this problem, I can't think of a better way than to "label" your towel hooks! Thus, the perfect use for these adorable vinyl designs from Simply Said - the MR. and MRS.


I love them, and think every married couple should have them! Imagine the uses - iron them on your bed pillows, adhere them to your mirrors above a double vanity, or mark the bride and groom seating at a wedding ceremony!

Here's the easy steps to making your own:

1) Order your Simply Said vinyl designs here.  Mrs. is item #NP1090, and Mr. is item #NP1089. You choose the size and color. I chose 10" in Warm Grey. They'll take about 10 days to arrive.

2) While you wait go shopping for a piece of wood. I went to Lowe's and bought a 10x1 board and had them cut it down to several pieces that were 10x10. The first two cuts are free and every cut thereafter is just twenty-five cents.

3) Buy two hooks (these came from Lowe's), and two picture frame hangers for the back of the board (to hang on the wall).

4) Lightly sand your corners and edges, as the cuts are raw and splintery. I used a Black and Decker Mouse to sand with  80 grit paper, followed by 220. Remove saw dust with a dry brush.

5) Paint your boards. I chose to use Annie Sloan Chalk Paint in Emperor's Silk. After I painted the wood (two coats), I applied dark wax, and distressed the corners.

6) Allow your paint and wax to dry fully. It's best to allow them to "cure" for a week or two, so all the chemicals evaporate before you apply the vinyls.

7) Once your painted boards are ready, apply your vinyl designs. See the application video here.

8) Follow the directions for putting your hooks on the boards. Basically its just a matter of using an electric screwdriver to drive two screws through the hook hardware into the wood.

9) Follow the directions for putting the hanging hardware on the back.

Done! Now hang them in your bathroom and be sure to show the love of your life his or her new towel hook!


Saturday, May 24, 2014

Applying a Simply Said vinyl design to chalk painted furniture

When I was painting a lot of furniture, I loved putting designs on them. Chevron was very popular. So was anything french, Paris or script-inspired. It still is. The problem for me, was that I was relying on stencils to achieve the look. With stencils, I always had a little paint bleed-through and could never achieve the crips, clean edges I desired. Transfers were another option (using tracing paper to imprint a design onto a painted surface), but they took forever to fill-in with paint. And again, my hand wasn't steady enough to get the crisp edges I wanted.

BUT NOW - there's a solution to the edge issue. And a big time-saver. It's vinyl designs. I just applied my first Simply Said design to a little side table and I LOVE it! It took a whole 3 minutes to apply!


Here's the easy steps to applying the design:


1) I applied it over a piece that was painted with Annie Sloan's chalk paint in Old White, with clear wax.

BEFORE


 I ordered the design in a grey color that looks a lot like Annie Sloan's Paris Grey. Look how pretty it is!


Next, I laid it grid-side facing up and ran the application tool across the entire surface to rid it of air bubbles.


 Then I began in the top corner and slowly pulled the grid paper back and down to remove it.


Next, I laid it over my table.


Then I used the application tool again by running it over the whole surface to remove air bubbles and flatten it to the table.


I started at the top left corner and pulled the paper back and down to remove it slowly.


And there she is! Pretty!


It really looks like its painted on! I couldn't be happier with it!


Monday, June 17, 2013

A Nelson Matter Dresser Makeover

I picked up this dresser and mirror several months ago at an auction.


As you can see, it was a mess. The lovely crackled finish would have been nice to leave as is, excerpt there were places on the top, front and sides that had huge areas of damage. The top had cup rings, the front looked like a tire tread over the paint, and the side had business cards stuck to the surface!

After inspecting the inside when I got it home, I discovered this medallion in a drawer.


It belongs to The Nelson Matter Furniture Company, which had been established in 1844 in Grand Rapids, Michigan. After a little research online, I discovered this company went out of business in about 1910. So, you can see that this is an old piece of furniture! And that would explain its sold wood, dovetailed construction, as well as the state of the mirror, which is quite cloudy. However, it certainly doesn't deter from the beauty of the piece, but gives it more character in my opinion. I loved the bail pulls, even though it was missing one. I loved the keyholes, the swiveling mirror and gorgeous legs. I loved it at first sight, and waited through 4 hours of bidding to get it!

After giving it a quick clean-up with mineral spirits, I decided to paint this with Annie Sloan Chalk Paint. I used Graphite with dark wax, as well as Paris Grey with clear wax (the two-tone look is so hot right now). And while I had hoped to find a drawer pull to match the existing ones, my search came up empty-handed. So, I ordered 6 new solid brass rosette bail pulls, that were a close match.

And here she is...


I love painting dressers - especially old ones. They always please me to no end with their dramatic transformations! I hope this beauty finds a well-deserved new home!

Tuesday, January 1, 2013

2012 Project Highlights and Tips for Succes

January 1, 2013. Today's a day to reflect on the past year and plan for the future. And its been a good year filled with many changes. My family is happy and healthy, and professionally I couldn't be more pleased. The new book publicity job is going well, and this past Spring I rediscovered how much I enjoy painting furniture.

Between custom work for clients, and the pieces I painted to sell, the projects were, for the most part, highly enjoyable (excerpt for painting a few sets of dining chairs - oh they are a bear)! Here's some of my favorites from 2012 and tips for success:

My FAVORITE furniture makeover was the french chair...


This was so fun - I really loved the upholstery aspect of this piece, and I hope to do more chairs this year. If you're going to reupholster a piece, here's my suggestions to avoid pulling your hair out:

1) Invest in a good stapler - at least an electric one, or you will find you need a lot of muscle just to get them in flush
2) Save the pieces of old fabric you tear off to use as a template when cutting the new fabric
3) Buy more fabric then you think you will need

Here's the original posts for this project if you want to see and read more:
Ripping it Apart
Painting the Chair
The Reveal


The Antique Bedroom Set - a close tie for second!


Oh how I loved working on this set that included a queen headboard, footboard, side rails, a dresser, vanity and two huge mirrors. The furniture was beautiful, with amazing appliqué details, curves and rasters. Did I say I LOVED this set? And after the paint, I loved it even more. 

Tips for success:
1) Tape off your mirrors with green (Frog tape brand) painter's tape. Do not use the blue kind - or you will have bleeding. Trust me on this!
2) Invest in beautiful knobs - they make such a difference
3) When painting appliqués, use a small artist's brush and take your time

Click here if you want to see some before shots of these beauties.


Mona's Sideboard


This console was a custom paint project that I fell in love with. I swear when it was all said and done, I secretly wished it was mine! I hope to find a similar piece some day and paint it for my own dining room.

Tips for success:
1) Frog tape is great for getting crisp lines around edges if you don't trust a not-so-steady hand
2) Use dark wax sparingly for an aged patina. If you smear it over the whole piece, it will just look dirty.
3) Sometimes the lack of hardware truly makes a piece stand out. Don't be afraid to take it off and fill in the holes. But be sure you can easily open drawers.

Here's more photos!


The bench from hell


Sometimes a piece of furniture is so easy to transform you'll amaze yourself. At others, it's such a pain in the ass you could cry. This one fell into the latter category. And I have several posts to explain why linked below. BUT, what's important is that the end result. This pretty piece sits in my spare bedroom and when I walk past the room, I still find myself stopping to admire her. 

Tips (or maybe I should calls these bits of advice warnings):
1) You will get blisters when removing thousands of staples!
2) Upholstery needles are very long and sharp!

More links:
Removing cushions is hard work!
The next step - fabric.
Making the tufted seat.


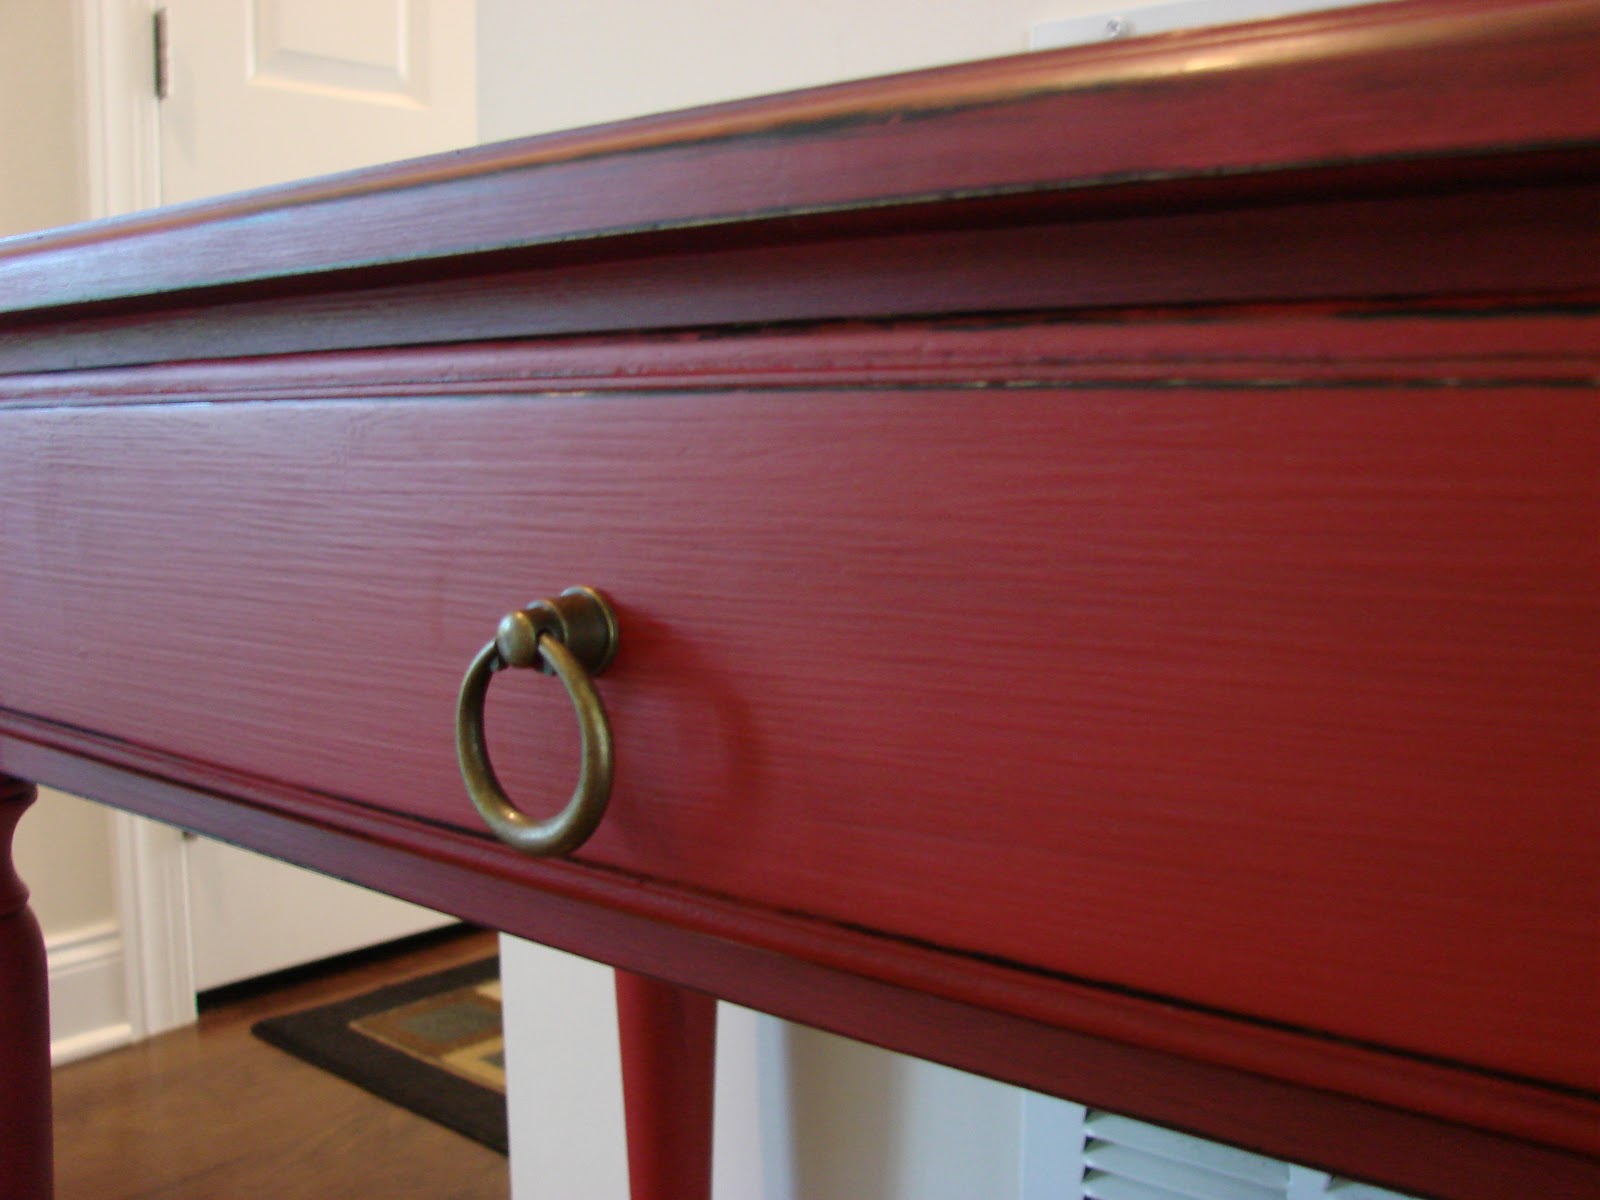
Little Red Accent Table


Okay, I have a thing for red. Love red accents in a home, and this piece turned out great with its black wood peeking out from underneath.

Tips:
1) Always remove hardware before you start painting, unless of course you plan to paint right over it
2) Don't be afraid of color. A striking piece will make you smile! The 2013 Pantone color of the year is emerald green - who wants to try it out first??!!

Click to see more photos of red furniture.


Gorgeous Wood Plank Desk


This gorgeous desk was also a custom project. The stunning plank top was to die for! I'm not kidding, I'd go out in the garage and just run my hands over it. Just. Beautiful. Wood.

Tips:
1) The Black and Decker Mouse is an awesome little hand-sanding tool that strips off old surfaces so quick and easy! Perfect for smaller hands and very light-weight. 
2) If you don't like your wood to have a shiny surface, make sure you use a matte finish. I prefer Minwax Wipe On Poly. They even make a wipe on stain too, that you just brush on, let sit a few minutes and then wipe off. Easy-breezy!!


Annie's Secretary


This was a pretty custom project I enjoyed doing. It started off solid black. We used Annie Sloan Chalk Paint in Paris Grey, and Old White. 

Stenciling tip:
To avoid stencil bleeding, always make sure to wipe your brush on a paper towel to remove excess paint, before you begin stenciling. Each time you reload your brush, wipe first. This will keep paint from seeping underneath the stencil and giving you that blurry edge.


Decoupaged Kitchen Storage Cupboard


This petite cupboard made my favorite list because of the shabbiness and it's decoupaged interior doors.  Truth be told, I was completely out of Paloma (the purplish color) and Old White paint when I discovered that I had failed to paint the insides of the doors. I was taking this piece to a sale the next day and I had to do something. In a pinch I decoupaged the doors with Modge Podge and scrapbook paper. I loved the surprise of opening the doors and finding the design!

Decoupage tips:
1) Make sure paint is dry before you decoupage over it
2) If air bubbles form, pierce it with a pin, then smooth out with your fingers
3) Avoid using ink-jet printed designs, as the ink can smudge from your decoupage medium


French Coffee Table


The french coffee table was one of my fav's this year too. The piece was curvy, with scrolls and shell motifs. I chose to dry-brush Old White over Paloma and it created a lovely layered look.

Dry-brush technique tip:
The dry-brush technique is literal - you load a small amount of paint on your brush, and then wipe most of it off onto a towel or rag before you start painting. Keep the brush very dry to deposit very fine amounts of paint on the surface.

More photos here.


Gold Gilding Column Table


I loved this little piece of furniture for its many crevices. Turned grooves allow dark wax to settle in and create such a perfect, distressed and aged look. Gold gilding wax also looked great on those column legs.

Gilding wax tip:
A little goes a long way! Seriously, use a fine-tipped brush and wipe it back to get your achieved luster. Let it set and then buff lightly. Ahhh - so rich!

More photos here.


As I think about the coming year and the things I'd love to take a brush to, a list is quickly developing:
1) A stenciled accent wall in my powder room
2) A mammoth hutch
3) My kitchen cabinets (I just want to wax them. They're already an antique white color and I think the dark wax would make a huge difference!)
4) I've got about 5 pieces of furniture in my house that need a makeover, from dressers to a storage bench.
5) A TV console
6) A mini bar
7) More French chairs

I'll stop now. Heck, I'll paint just about anything! Give it a try folks - I think you're gonna love it!


Monday, September 3, 2012

Paint Demo Inspires Craft Club

This weekend I had a nice group of neighbor ladies over for a paint demo. A few were really interested in learning how to transform their old furniture with the shabby chic style that is so popular. We worked on this tray, which can be purchased already decoupaged with this pretty floral paper from Jo-Ann's Fabric. The wood was unfinished, and the handles come black.

We painted it with Annie Sloan Chalk Paint in Antoinette - a pretty soft pink color. I showed the gals how to distress with a sanding block and seal with clear wax. Then we even added a little gold gilding wax to the handles for some added glamour!


It was so much fun, sitting there talking about painting, drinking wine and generally gabbing with the girls.  And so, we decided this would become a monthly craft club. Like a book club, a different member will host a meeting at their home, where they will lead a craft. I'm starting in October with a Halloween craft - stay tuned - I'm sure to write a blog post about it!

The Secretary is In!

This afternoon I delivered another custom piece for a client - a lovely secretary desk.

Below are the BEFORE photos: (Even completely spray-painted black, it was very pretty.)


 Here's the AFTER: painted with Annie Sloan Chalk Paint in French Linen and Old White.


I distressed the edges lightly and added dark wax in the crevices on the crown molding and around the window panels, after sanding back the stencils.


She decided to leave the inside black. Thank goodness, can you imagine how much time it would have taken to hand-paint inside all of those compartments!!


Here's the piece in her home, adjacent to its matching table and chairs. She loved it and I am so happy with how it turned out!

Saturday, August 25, 2012

Occasional Table Gets Gilding Wax Treatment

I've been dying to try gold gilding wax, and when my neighbor (thanks Karen!) gave me a pretty little occasional table, I had the perfect piece. With it's carved column legs, it begged for some bling!

I wish I had stopped to take a BEFORE photo, but like so often, I get all caught up in painting, and forget. So, imagine this piece in a dark brown. Trust me, it looked really different!

It's painted with Annie Sloan Chalk Paint in Old Ochre. With all of the crevices and detail, I knew this piece would look beautiful with dark wax. And of course the gilding wax went into the little carved details on each leg. Gosh - she looks so pretty!