A couple of weeks ago, as I was anxiously awaiting the Annie Sloan Chalk Paint workshop, I spied a little bench at one of my favorite consignment shops in Haymarket, called The Very Thing. First, let me tell you that this place is a stone's throw from my house, and I visit it nearly everyday. I have found some great things there - unusual stuff I wouldn't get anywhere else - ever! Like a Hillary Clinton-autographed & framed illustration of the Christmas room in the White House, which I couldn't wait to surprise my mother-in-law with this past holiday!
So, this bench was in one of their small rooms, flanked by about 5 pillows and tucked behind even more items. It was like a chameleon - hidden in its habitat. It was so plain-jane, it had virtually disappeared among the other stuff. Perhaps that's why there's was a sale tag on it for $75.00. Furniture doesn't go on sale too often at The Very Thing, unless its been there for a while. Believe me, their stuff moves fast. I have sold countless things there, and one day I scored these two fabulous chairs within minutes of them arriving into inventory.
Anyway, I might have overlooked the bench if I wasn't looking at things through new eyes. Eyes that searched for old or otherwise unwanted things hungering for a makeover. The bench fit the bill. But not for $75.00. So, I offered $50, and was bingo - she went into my truck!
Here it is, waiting a turn for new life, in my garage...
When I spied her I thought, "ooh, I can reupholster the seat and back cushions, too!" I've done that before. I had noticed at The Very Thing that the cushions were already peeling up from the wood. Upon closer inspection, it appeared they were just hot-glued down. So I figured that removing them would be easy-breezy, right?
WRONG! Here's where this project got hairy...
I went into the garage to look at her and imagine what color I was going to paint those lovely spindles and curved arms. I don't plan to paint this piece until I have few more under my belt, and feel more confident about not ruining it. But, I wanted to at least start on the fabric portion. So, I attempted to remove the top fabric on the back. Remember, I thought I would just be a matter of pulling it off. I started slowly, and could muster no more than turning down the edges. So, I got out a flat-head screwdriver, thinking I needed something to get down inside further. I poked, prodded, and felt like it just wouldn't give. Something was holding it tight. And like any woman who can't open a stubborn pickle jar, I called my husband.
He too had problems. I'm thinking, "that's some damn strong glue," when he gave it all his brute strength (Hubby is a big guy with big muscles). Off came the fabric - the FIRST LAYER of fabric!
I was so excited - it was like unearthing a piece of history, seeing the older fabric underneath. Then I joked with Hubby that perhaps there was a copy of the Declaration of Independence under the seat cushions!
So here is what we removed:
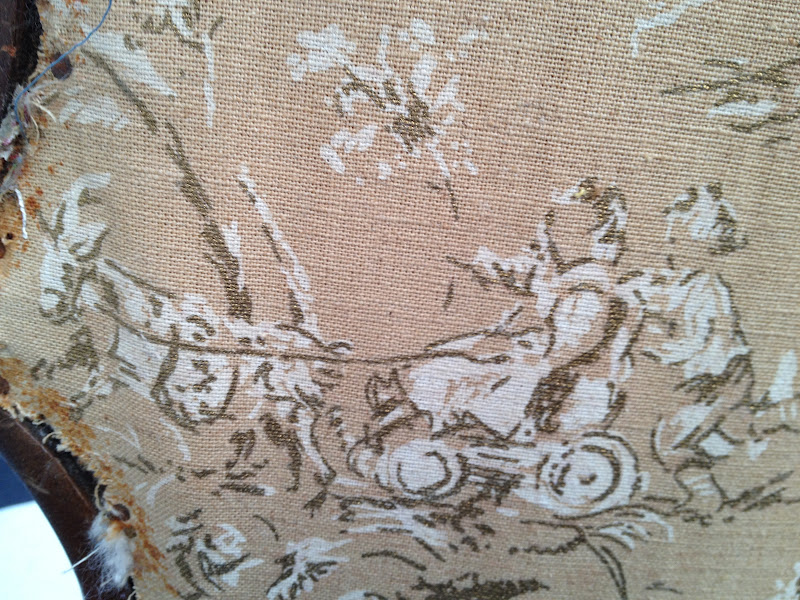
And here is what we discovered underneath:
The two fabrics are very similar. Part of me wondered why someone would bother to cover it with nearly the same fabric. Maybe they didn't like the little frilly edging? At any rate, look at the above photo - see all those staples? Those staples were from the first piece of fabric Hubby yanked off. Only the edges had been glued down - to hide all of these staples. We knew there was no way to pull this next layer off. Plus, as a very inexperienced seamstress, I know my limitations. I have no idea how to make piping to hide staple edges, like the last person had done. Nor, was I really wanting to take the time to learn. (I am impatient, and just wanted to get this done easily without having to turn on my sewing machine)
We decided it was easiest to remove the back panel:
I initially thought I would salvage the wood, recover it, and wood glue it back in. But, it turned out the wood, was just some cheap, paper-thin material that splintered, cracked and buckled in our hands.
And that wasn't the worst part. Here's what the bench looked like now:
Two rows of staples. And I mean a lot of friggin staples! I spent 2 days pulling these things out with a pair of pliers. I got blisters and a backache from this crap.
Hubby pulled out a few before he gave up and went back inside. It would have been much easier, had the row of newer staples not kept breaking in half, leaving us with tiny pieces of metal sticking out of the wood. The first row and older staples were much stronger and in most cases came out in one piece.
So, the next step was to sand down the leftover bits of staple still lodged in the back:
I borrowed my neighbor's Dremel and sanded down the bits of metal. Hubby came out to find me doing this with sparks flying. He said I looked like I was welding. Ha! Once I was down to wood, the next step was to sand the area smooth, as some of the staple left holes and lifted wood. I used very course sandpaper.
And here is what it looks like now. Very smooth! You can still see the row of embedded staples, but at least you can't feel them anymore (or risk being stabbed in the back when seated).
So now that the back is ready for paint, I have decided that I will not be adding new upholstery to the back again. I rather like how the empty spaces look up top.
And I will NOT be going through this whole procedure again for the seat. See how the seat, propped against the wall, has 2 individual cushions? I can not yank even one more staple! Instead, I plan to add plenty of batting over the whole thing, cover it and replace it as a single cushion. I promise to share pics of that too.
What I can show you now, is the very pretty fabric I found for this job:
It is Waverly home decor fabric, which I purchased on sale at Jo-Ann's Fabric. The floral, called "Fairhaven, from the Vintage Florals Collection, " will be used on the seat cushion. The ticking, called "General Store, from the Ticking Stripes Collecion," will be used to cover a pillow form I got. I figure a little pillow on the bench will look very pretty. And I loved both these fabrics so much, I just couldn't choose!
My next step with this project will likely be the pillow or seat cushion. I want to paint a few other items before I start this. Hopefully the rest of the work will be easier!