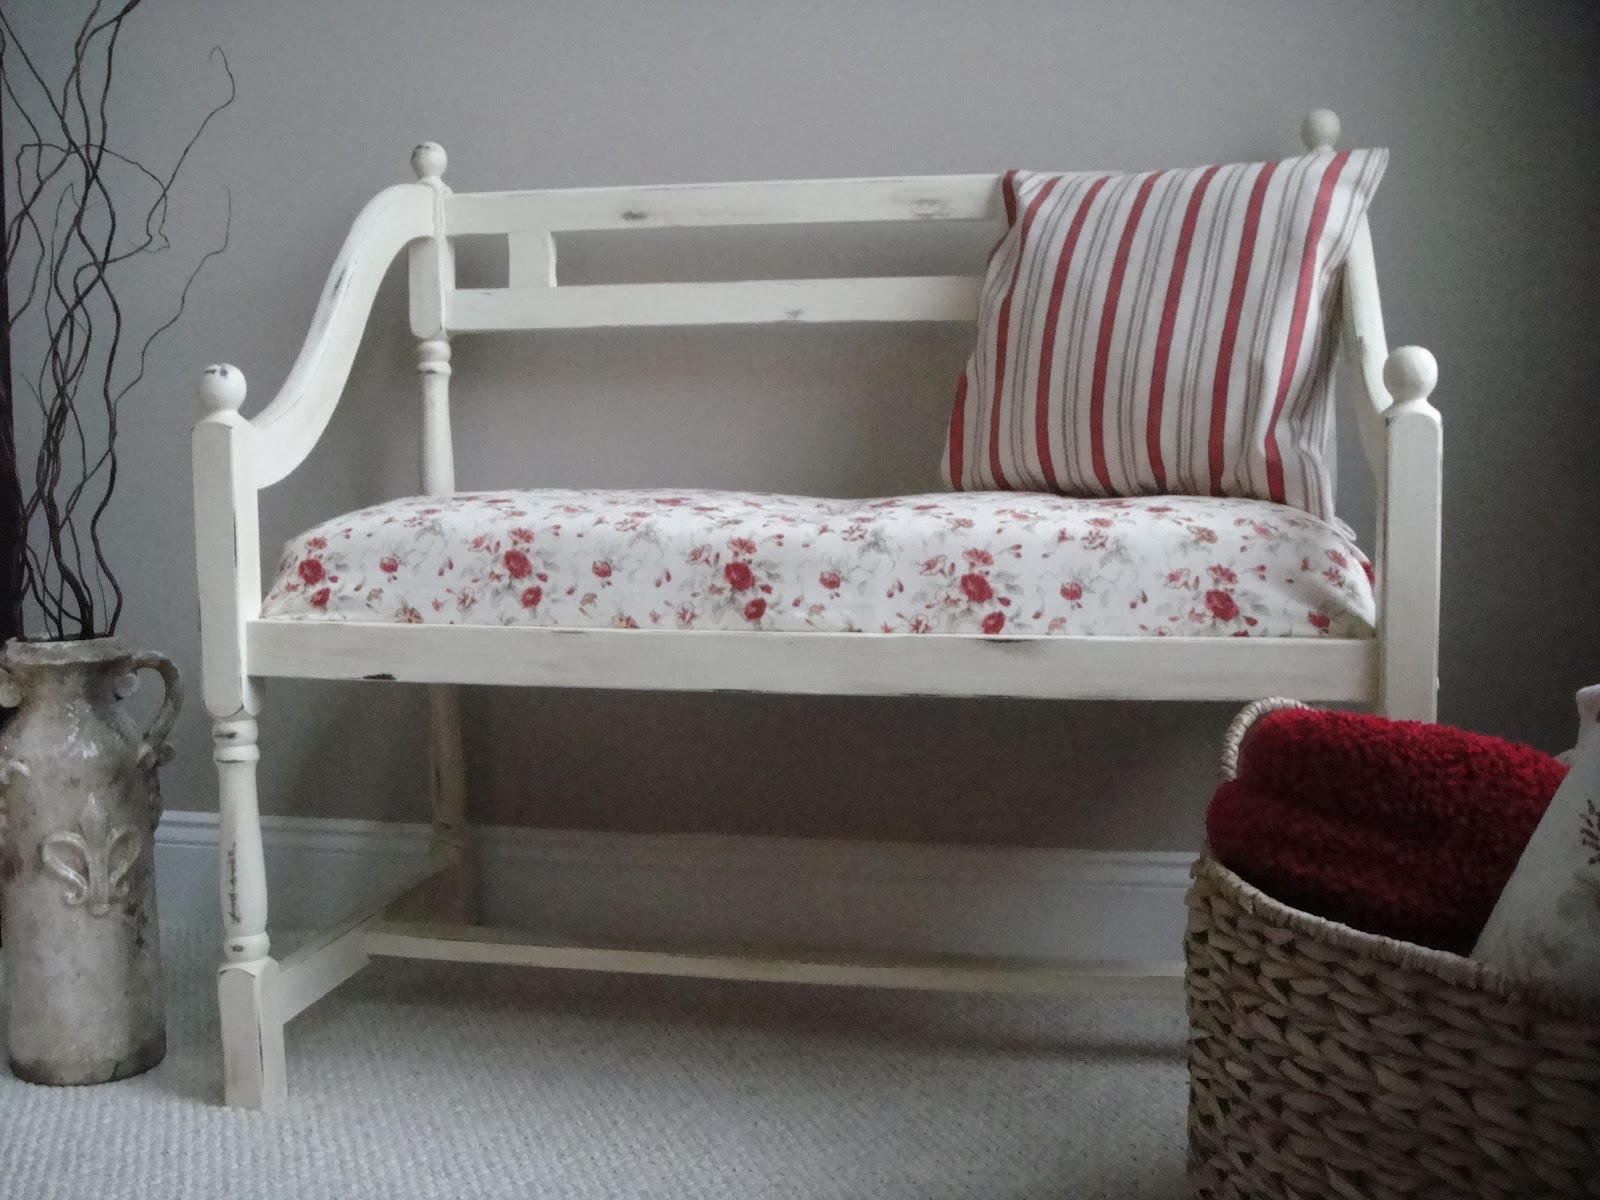
The seat is finally done! I say that with a lot of relief because it was something I've wanted to complete for weeks now.
As you know, the seat on this bench was originally covered with 2 pieces of fabric to make 2 small, rather flat cushions.
After removing the top cushion on the back first, and discovering endless staples which led to blisters and a backache during removal, I decided the seat cushions would have to stay. Covering them up was the answer.
I bought 2 pieces of 2-inch foam, batting, fabric, a button cover kit, nylon thread and a long upholstery needle. I watched a tufting tutorial on The Fab Housewife website, and went to town yesterday.
Here's what I did. First I measured the length and width of the seat and decided where I wanted my 3 tufts - spaced out evenly. Then I used hubby's drill to drill 3 holes into the back of the wood seat. I cut my foam to the correct size, and laid it over the old seat. (the seat came out of the bench frame easily thank God) Then I cut the batting and laid that over the foam. Next I cut the fabric and that went over the batting. I flipped the whole thing over, and pulled it all tight and started stapling it down to the underside of the seat.
Then I worked on my buttons. I bought a handy little kit at the fabric store that made covering buttons easy. After 3 were complete, I threaded the needle with long nylon thread. Here's where it got messy. This thread was transparent and thin. The video said to fold it twice, so there would be 6 pieces to give it added strength. Well, after hours of trying to use this thread and pull it tight, it just kept tearing. I finally resorted to using yarn (thank you Kristi!). I had watched a different video online with this technique and yarn was the ticket!
So, here's the actual tufting technique: thread the upholstery needle with yarn, insert through the drilled hole in the back of the seat, push it slowly through all the layers until it comes out the front side. Then slide one of covered buttons onto the needle, and reinsert the needle back through the hole. The tricky part is finding the drilled hole again. I had to wiggle the needle around until I got lucky and found the hole.
One I got through the drilled hole and pulled the button taught, I then clipped off the needle and pulled the yarn very tightly, which sank the button deeper into the foam, and gave it the tufted appearance. When it was as deep as I wished, I then knotted the thread at the back. You might be wondering how I kept the yarn from sliding into the drilled hole - I anchored it with washers. Just tied it to the washer before I even inserted the needle in the first place (another trick learned online). The washer kept the yarn from sliding into the drilled hole.
So, without further adieu, here's a few more shots of the finished seat...
After finishing this seat, I gave the bench a quick coat of paint in Old White. Today I want to finish the painting and waxing. So, tomorrow you should get to see the finished piece. Yay! I can't wait - hope you are as excited as I am!